The Importance of your Image Workflow

Shooting in RAW means you will need to post-process your images. Lightroom & Photoshop from the Adobe Suite are the most popular.
Taking photography from a hobby to a business is challenging and one of the core things people fail to understand is time. Now you are out earning money those pesky things we call deadlines start to appear and you must be able to get work in on time. Therefore, having a well-structured and thought-out workflow is critically important not just in saving you hours of time but then using that extra time to grow your business. I am going to break it down into three sections: Importing & Culling, Editing and Exporting. I will be assuming you use both Adobe Lightroom & Photoshop and that you are shooting in RAW. Though much of this applies to any image editing software you may use.
Importing & Culling

Shooting an event can leave you with hundreds or thousands of images that can take a long time to sort through if you don’t work efficiently.
It might come as a surprise for some people, but this can be half the job of editing. You might come home from a wedding or an event with literally thousands of images and you will probably need to delete 80%+ of them once you sort through duplicates, out of focus shots and stuff that just wasn’t very good. Like a lot of people, I originally used Lightroom to do my image culling but, after feeling the urge to punch a hole through my monitor, I realised this was just not a good idea going forward. Lightroom is painfully slow for this task, as you not only have to import everything, but you then have to render all the 1:1 previews in order to see if your image are sharp. I’ve heard horror stories of wedding photographers importing all their photos before the go to bed so they can be rendered by the time they wake up the next day.
FastRawViewer (FRV) is a great way to quickly identify which are your best images and cull through them so the final results can be edited. The RAW histogram and information on under & overexposure can be found in the top right hand corner (click to enlarge).
I can promise you this isn’t worth doing and instead your best bet is to get a dedicated image culling software like I have done. A lot of people are now using a program called Photo Mechanic but at $140 (~£100) this is a bit expensive so I will be focusing on a much cheaper alternative FastRawViewer (FRV), which only costs £17.99. So why use this over Lightroom? First of all, it is much faster. You don’t need to import the photos into the software or render any previews. You can get started with your culling immediately. It then has multiple tools for you to evaluate the RAW images, including levels of sharpness (detail) as well as indicating how much of the photo is under or overexposed, without having to zoom in and check. This makes it so much simpler to see which photos are good and which ones are not. You can then customise the keyboard shortcuts to match Lightroom in order to ‘delete’ photos you don’t want or highlight photos you do (with the same five-star rating system you are used to in the Adobe suite). ‘Deleted’ photos are actually moved to a separate folder so you can either go back and recover them or delete them permanently off your system.
FRV has an option to show fine details without zooming in, by default these are set at red dots similar to focus peaking on a camera. The option can be toggled on the bar at the bottom (click to enlarge).
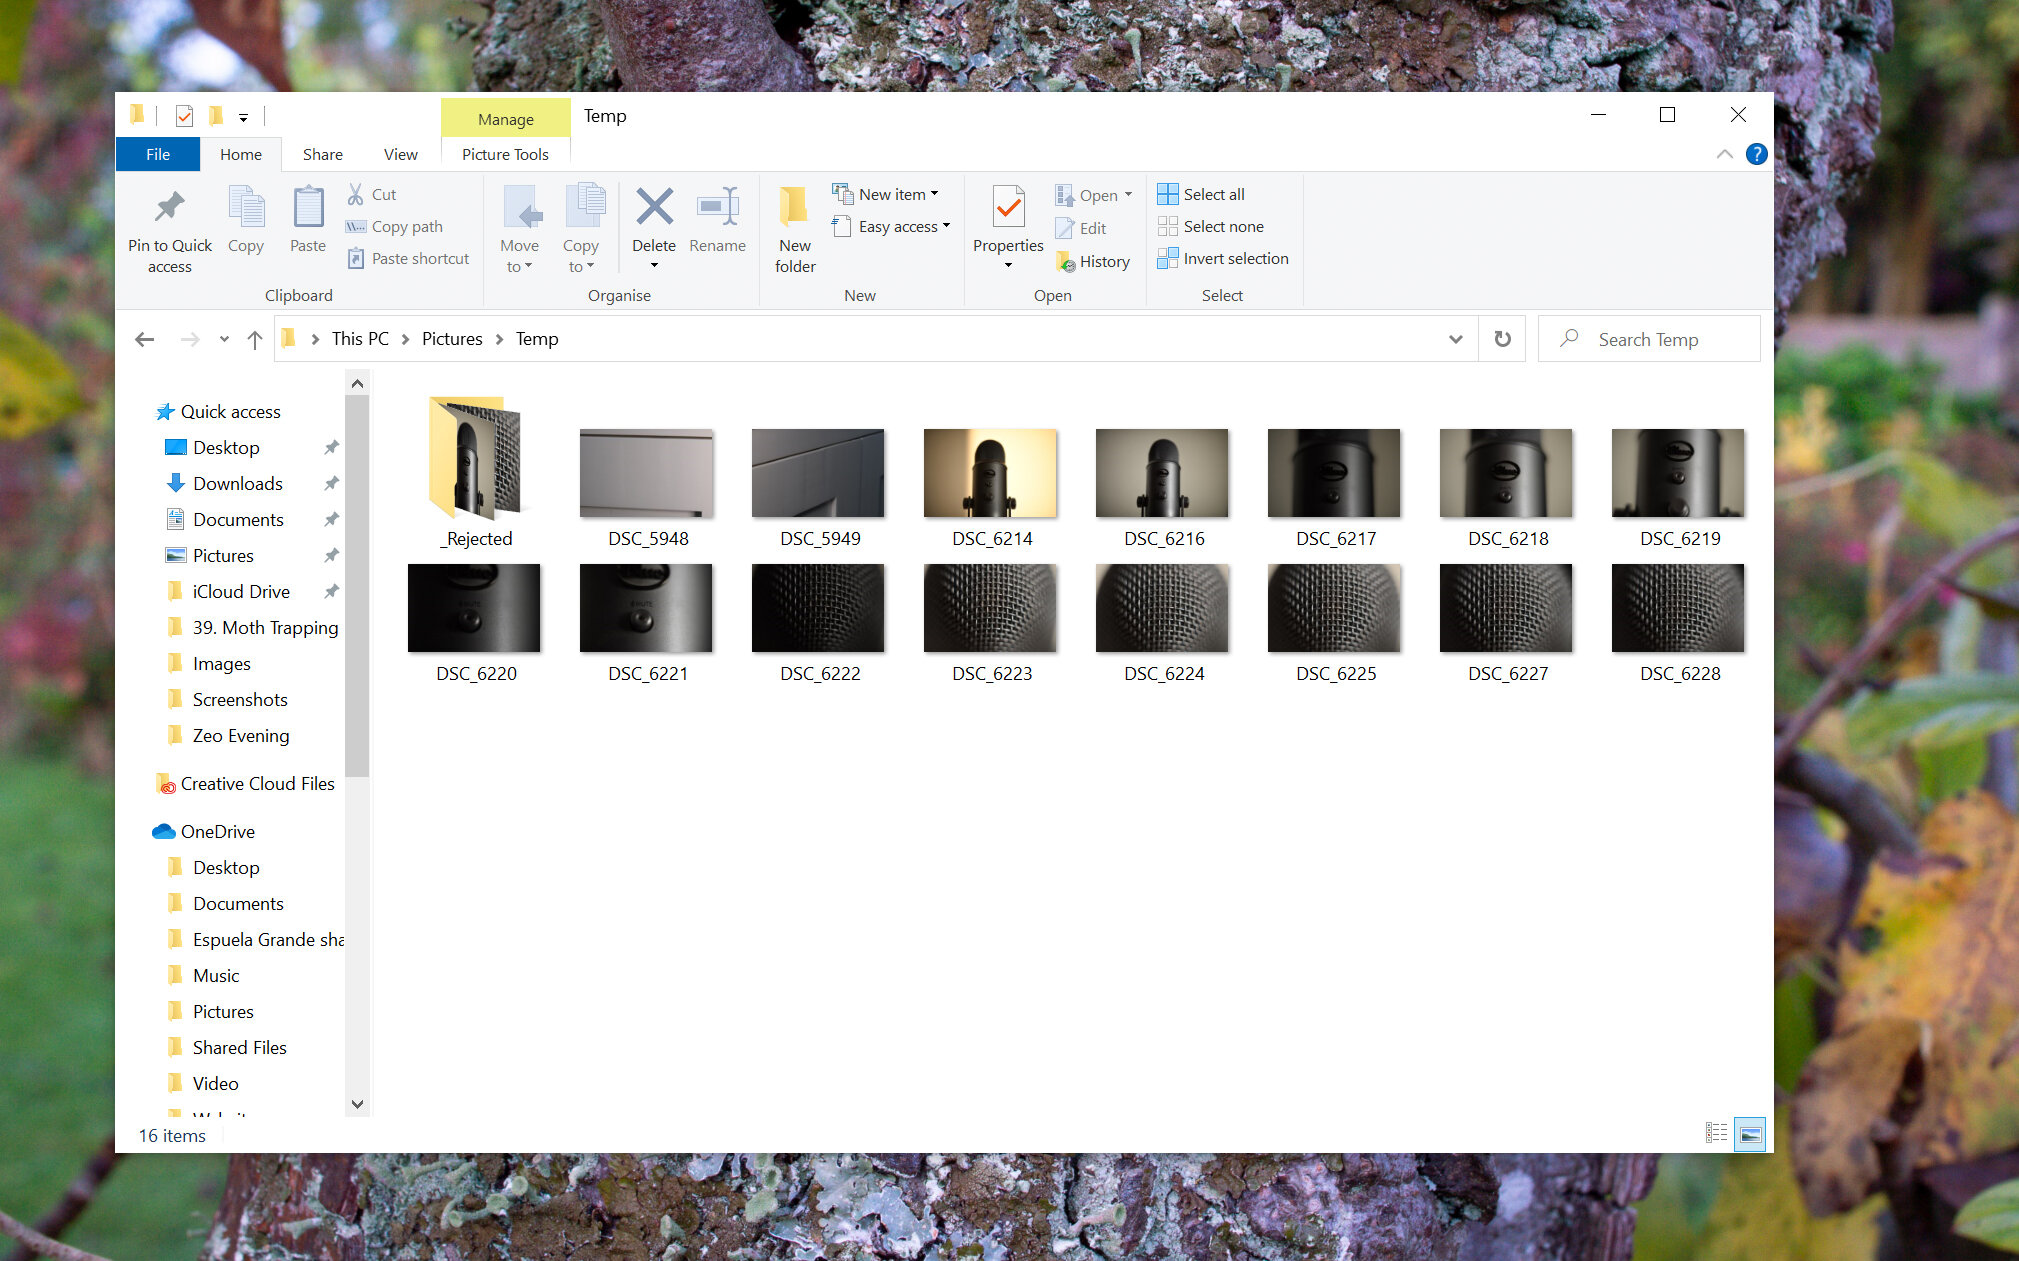
Images discarded in FRV and moved to a ‘_Rejected’ subfolder which allows you to either recover or permanently delete them.
Once you have decided which images are good and worth keeping, you can import them to Lightroom. To help speed things up there are a couple of things you can do. Go into ‘Preferences’ (under the ‘Edit’ on the top bar on PC) and make sure you are using your dedicated graphics card if you have one. Second of all, the standard default Camera RAW cache size is set a pitifully low 5GB by default, increase this to 80% of your maximum RAM (any higher and it may start causing your system issues). Strangely enough this does also affect the speed of Photoshop. Finally tick the option ‘Use Smart Previews instead of Originals for image editing’. Now when you actually import them make sure to tick ‘Build Smart Previews’ on the top right and select ‘Copy as DNG’ on the top bar. Converting to a universal DNG will make it easier for the Adobe software to read your RAW files.

Make sure to correctly set your preferences so you are making the most of your system’s hardware.
On import I now Copy as DNG and tick the option to ‘Build Smart Previews’ which you can see on the top bar and in the top right hand corner (click to enlarge).
Editing

Once you have culled through your original set of images it’s time to edit them in Lightroom or another appropriate editing software.
Wherever I can I do as much or all my editing in Lightroom. It’s a faster and simpler program than Photoshop and the cloud version is even simpler again for those who want a much faster experience on less powerful devices. Lightroom has become increasingly more powerful with new tools such as range masking so you can still make specific, localised edits without having to resort to Photoshop selection tools. Add in the batch editing you can do with the sync settings function, and you can really start to speed up doing all those basic edits.

I avoid using Photoshop completely unless I need to do extensive retouching or like in this case, I am working with multiple layers.
I use Photoshop if I am working with multiple layers (focus stacking or when merging two images taken with a polariser) or when I need to do extensive retouching, most often removing multiple objects from an image. Unfortunately, whilst the Spot Removal tool in Lightroom can come in handy, it doesn’t hold a torch to what Photoshop is capable of with the Clone Stamp tool or the Spot Healing Brush.
Of course, the best way to save yourself time when editing is to shoot smarter and get as much done as possible in camera. Shooting more economically and getting things like white balance correct at the time will save a lot of hassle later. The former comes with practice as you start to understand what you actually need to complete a job and are not simply taking photos because you think they might be needed. Finally try not to over-edit your images, sometimes only very simple adjustments are needed to bring it to life.
Exporting

There are a lot of options for exporting but there’s no need to get carried away. Just make sure you change the file size & DPI depending on what you will use the images for.
Finally, we come to the easiest part – exporting, but there are still a couple of things to be mindful of: image theft and upload times. Unfortunately, the explosion of sharing images online has meant that many unscrupulous people steal and pass them off as their own. There isn’t a huge amount that can be done about this but what I do recommend is to export images at <2MB and at a DPI of only 70. This at least prevents people from printing high quality versions to make money off your hard work. Obviously if you are providing someone with images to print then make sure you export at a larger size with a DPI of 300. In addition, exporting images at a small size makes them a lot easier to upload onto social media or a blog just like this one. There is also an option to add a watermark to your images for extra protection, personally I don’t like doing this, but it is ultimately up to you.

An effective workflow means you can always edit and deliver work in a timely manner.
So there you have it, I hope that was useful in getting you to rethink your workflow of editing images if it isn’t something you have dedicated much time to previously. As always if you have any questions then please leave them in the comments section down below.
If you enjoyed this blog then please consider leaving a tip below.